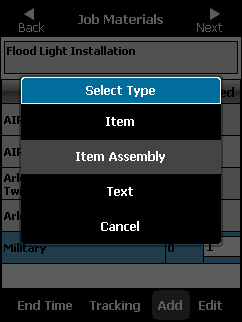
You can add item assemblies to a job that were not entered when the job was created. You can only add items that already exist in Micronet.
Refer to "Job Materials".
Micronet displays a menu.
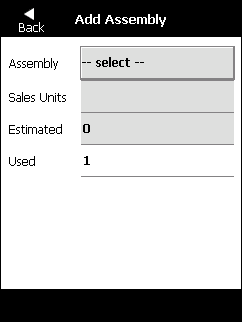
Micronet displays the Add Assembly screen.
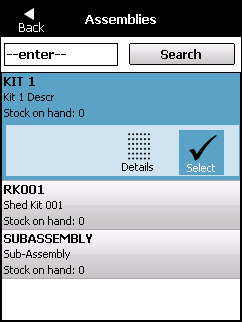
Micronet displays the Assemblies screen.
Refer to "General - Items" for more information.
Micronet displays the Item Details screen. Select the Back button to return to the Assemblies screen.
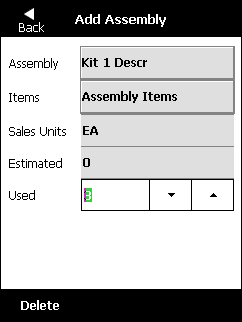
Micronet redisplays the Add Assembly screen showing the selected assembly.
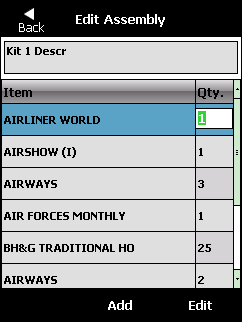
Micronet displays the Edit Assembly screen that enables you to add/remove and edit the contents of the assembly. Note that this is not a global change; it will only change the contents of the assembly for this particular job.
Select the Back button to return to the Assemblies screen.
Micronet redisplays the Job Materials screen with the assembly added to the job.
You can use the PDA's physical keyboard, or you can edit the item (refer to "Editing an Item").
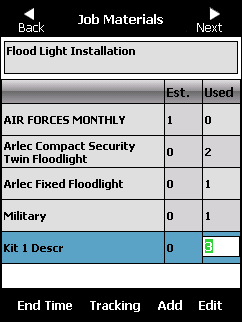
Refer to "Job Materials".